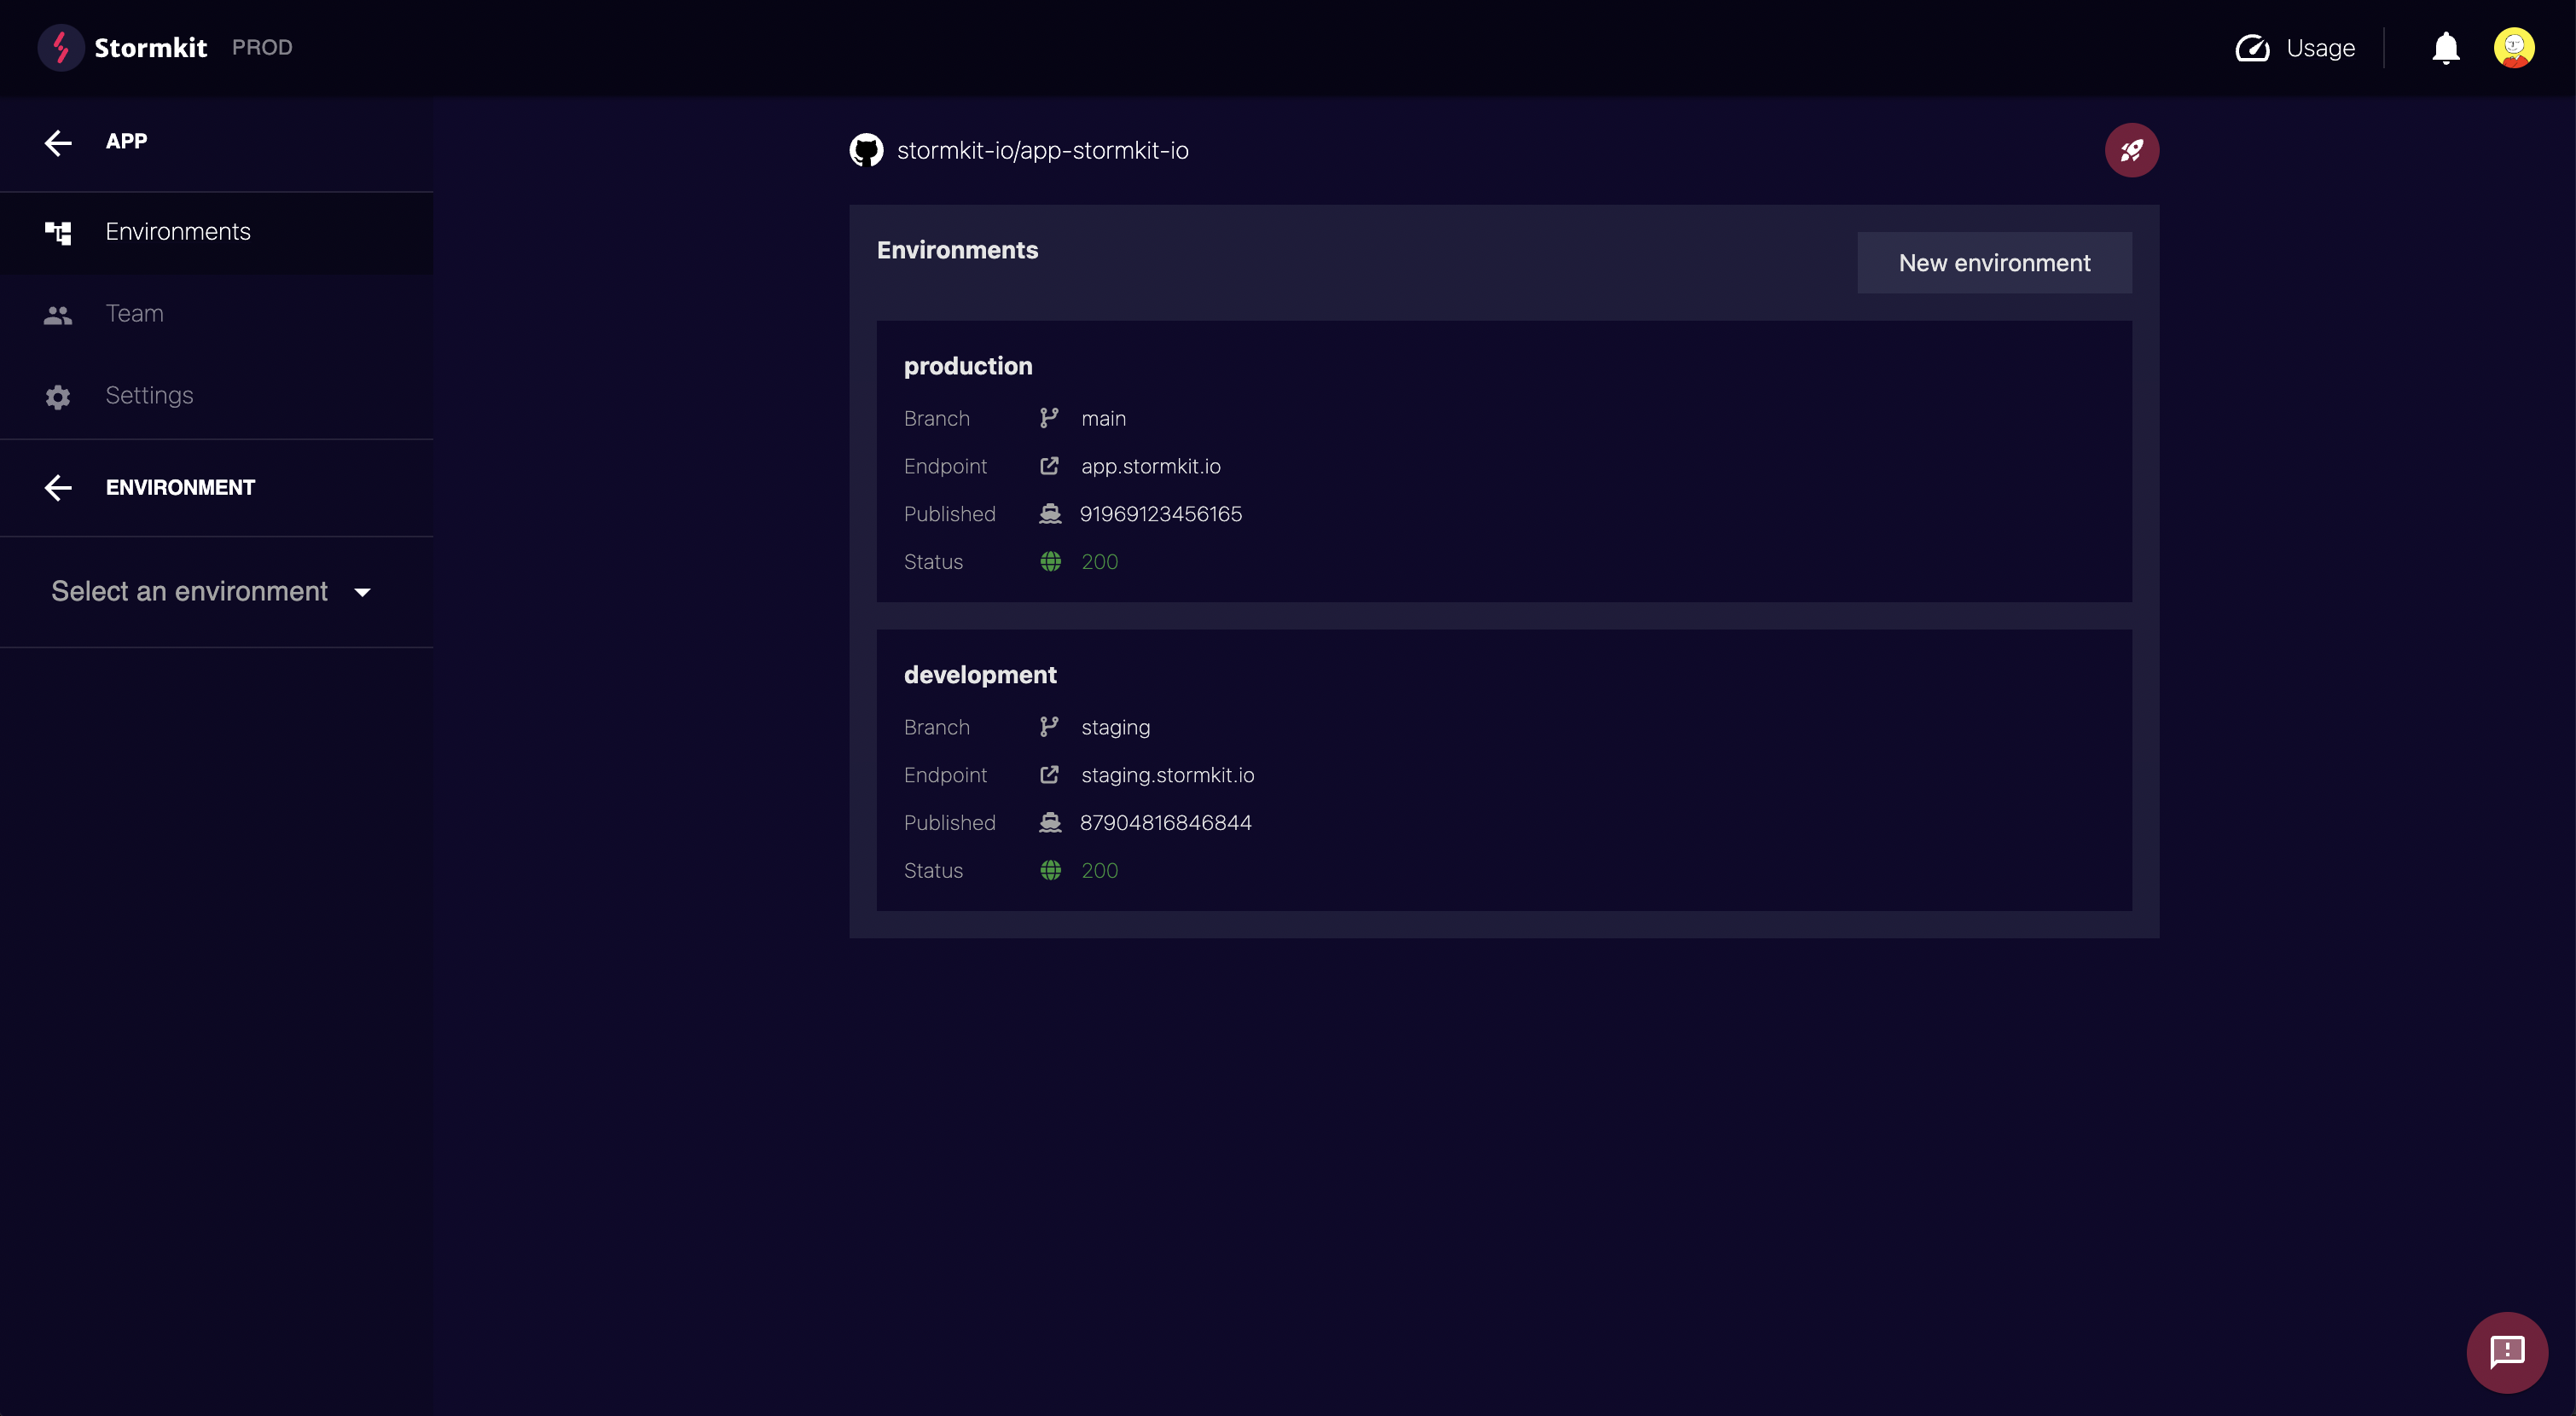
# Multiple environments
With Stormkit, you can create multiple environments per application. Each environment points to a specific branch, and when that branch is updated, Stormkit will automatically deploy it (provided you have Auto Deployments enabled).
# Default environment
By default, each application comes with a production environment already set. You'll need to configure it to deploy successfully. The production environment cannot be deleted or renamed, but you can change the branch it points to. Any branch that does not match an environment's configured branch (such as a feature branch) will be deployed using the default environment's configuration.
# Creating an environment
To create a new environment, select your application. You'll be taken directly to your application's default environment (production). On the left navigation menu, you'll see an Add Environment button. Click it and then configure your environment.
# Deleting an environment
To delete an environment, navigate to the configuration page and click the Delete environment button at the bottom. Deleting an environment will also remove all associated deployments.
Note: Production environments cannot be deleted as they are required by design.