Running automated browser tests is crucial for maintaining application quality, but managing browser instances can be resource-intensive. This tutorial shows you how to set up scalable automated testing using Stormkit's self-hosted solution with [Browserless](https://www.browserless.io/) for efficient browser management.
## What You'll Build
By the end of this tutorial, you'll have:
- A self-hosted Stormkit instance with Browserless integration
- Automated Playwright tests running in a scalable browser environment
- Continuous testing on every deployment
## Prerequisites
- A Virtual Private Server with SSH access
- Basic knowledge of React and Node.js
- Familiarity with Playwright testing framework
## Step 1: Setting Up Stormkit
First, let's install Stormkit using the single-liner installation script:
```bash
curl -sSL https://www.stormkit.io/install.sh | sh
```
This script will set up the basic Stormkit infrastructure on your server.
## Step 2: Configure Docker Compose with Browserless
Next, we need to update the `docker-compose.yaml` file that comes with Stormkit installation, to include Browserless alongside Stormkit. This provides us with a scalable browser environment for our tests.
```yaml
services:
# ... db, redis, workerserver, hosting services
browserless:
image: ghcr.io/browserless/chromium
restart: always
ports:
- published: 3000
target: 3000
```
Start your services:
```bash
docker compose up -d
```
## Step 3: Set Up the React Application
Now let's create our React application locally to test our setup.
We can use the `react-starter` example for this tutorial.
```bash
git clone https://github.com/stormkit-io/react-starter.git
cd react-starter
npm install
```
### Install Playwright Core
Since we're using Browserless for browser management, we only need the core Playwright library without the full testing framework. We will also need `tsx` to run Typescript code:
```bash
npm install playwright-core tsx --save-dev
```
## Step 4: Create Your Playwright Tests
Create a `tests` directory and add your test files:
```bash
mkdir tests
```
Create a basic test file `tests/app.spec.ts`:
```javascript
import { chromium } from "playwright-core";
const test = async () => {
// Connect to the remote browser via Browserless
const browser = await chromium.connect(
process.env.PLAYWRIGHT_WS_ENDPOINT ||
"ws://localhost:3000/chromium/playwright"
);
const context = await browser.newContext();
const page = await context.newPage();
const host = process.env.SK_DEPLOYMENT_URL || "http://localhost:5173";
const url = `${host}/ssr`;
try {
// Navigate to your application
const response = await page.goto(url);
// Test your application
await page.waitForSelector(".list");
const title = await page.textContent("h1");
console.log("Page title:", title);
if (!response) {
throw new Error("Failed to fetch API health endpoint");
}
console.log("API health status:", response.status());
console.log("✅ All tests passed!");
} catch (error) {
console.error("❌ Test failed:", error.message);
throw error;
} finally {
await context.close();
await browser.close();
}
};
// Run the test
(async () => {
try {
await test();
} catch (e) {
console.error(e);
process.exit(1); // This is important as it tells Stormkit that the process failed
}
})();
```
### Add Test Script to Package.json
Add the E2E test script to your `package.json`:
```json
{
"scripts": {
"test:e2e": "tsx tests/app.spec.ts"
}
}
```
You can now run your E2E tests with:
```bash
npm run test:e2e
```
### Push to Repository
Now let's push our test-enabled application to a public repository:
```bash
# Remove existing origin
git remote remove origin
# Add your new repository
git remote add origin git@github.com:your-repository
# Push to the new repository
git add .
git commit -m "Add automated E2E testing with Browserless integration"
git push -u origin main
```
Once pushed, you can connect this repository to your Stormkit instance for automated deployments and testing.
## Step 5: Configure Environment Variables in Stormkit
Now we need to configure Stormkit to use the Browserless endpoint for our tests.
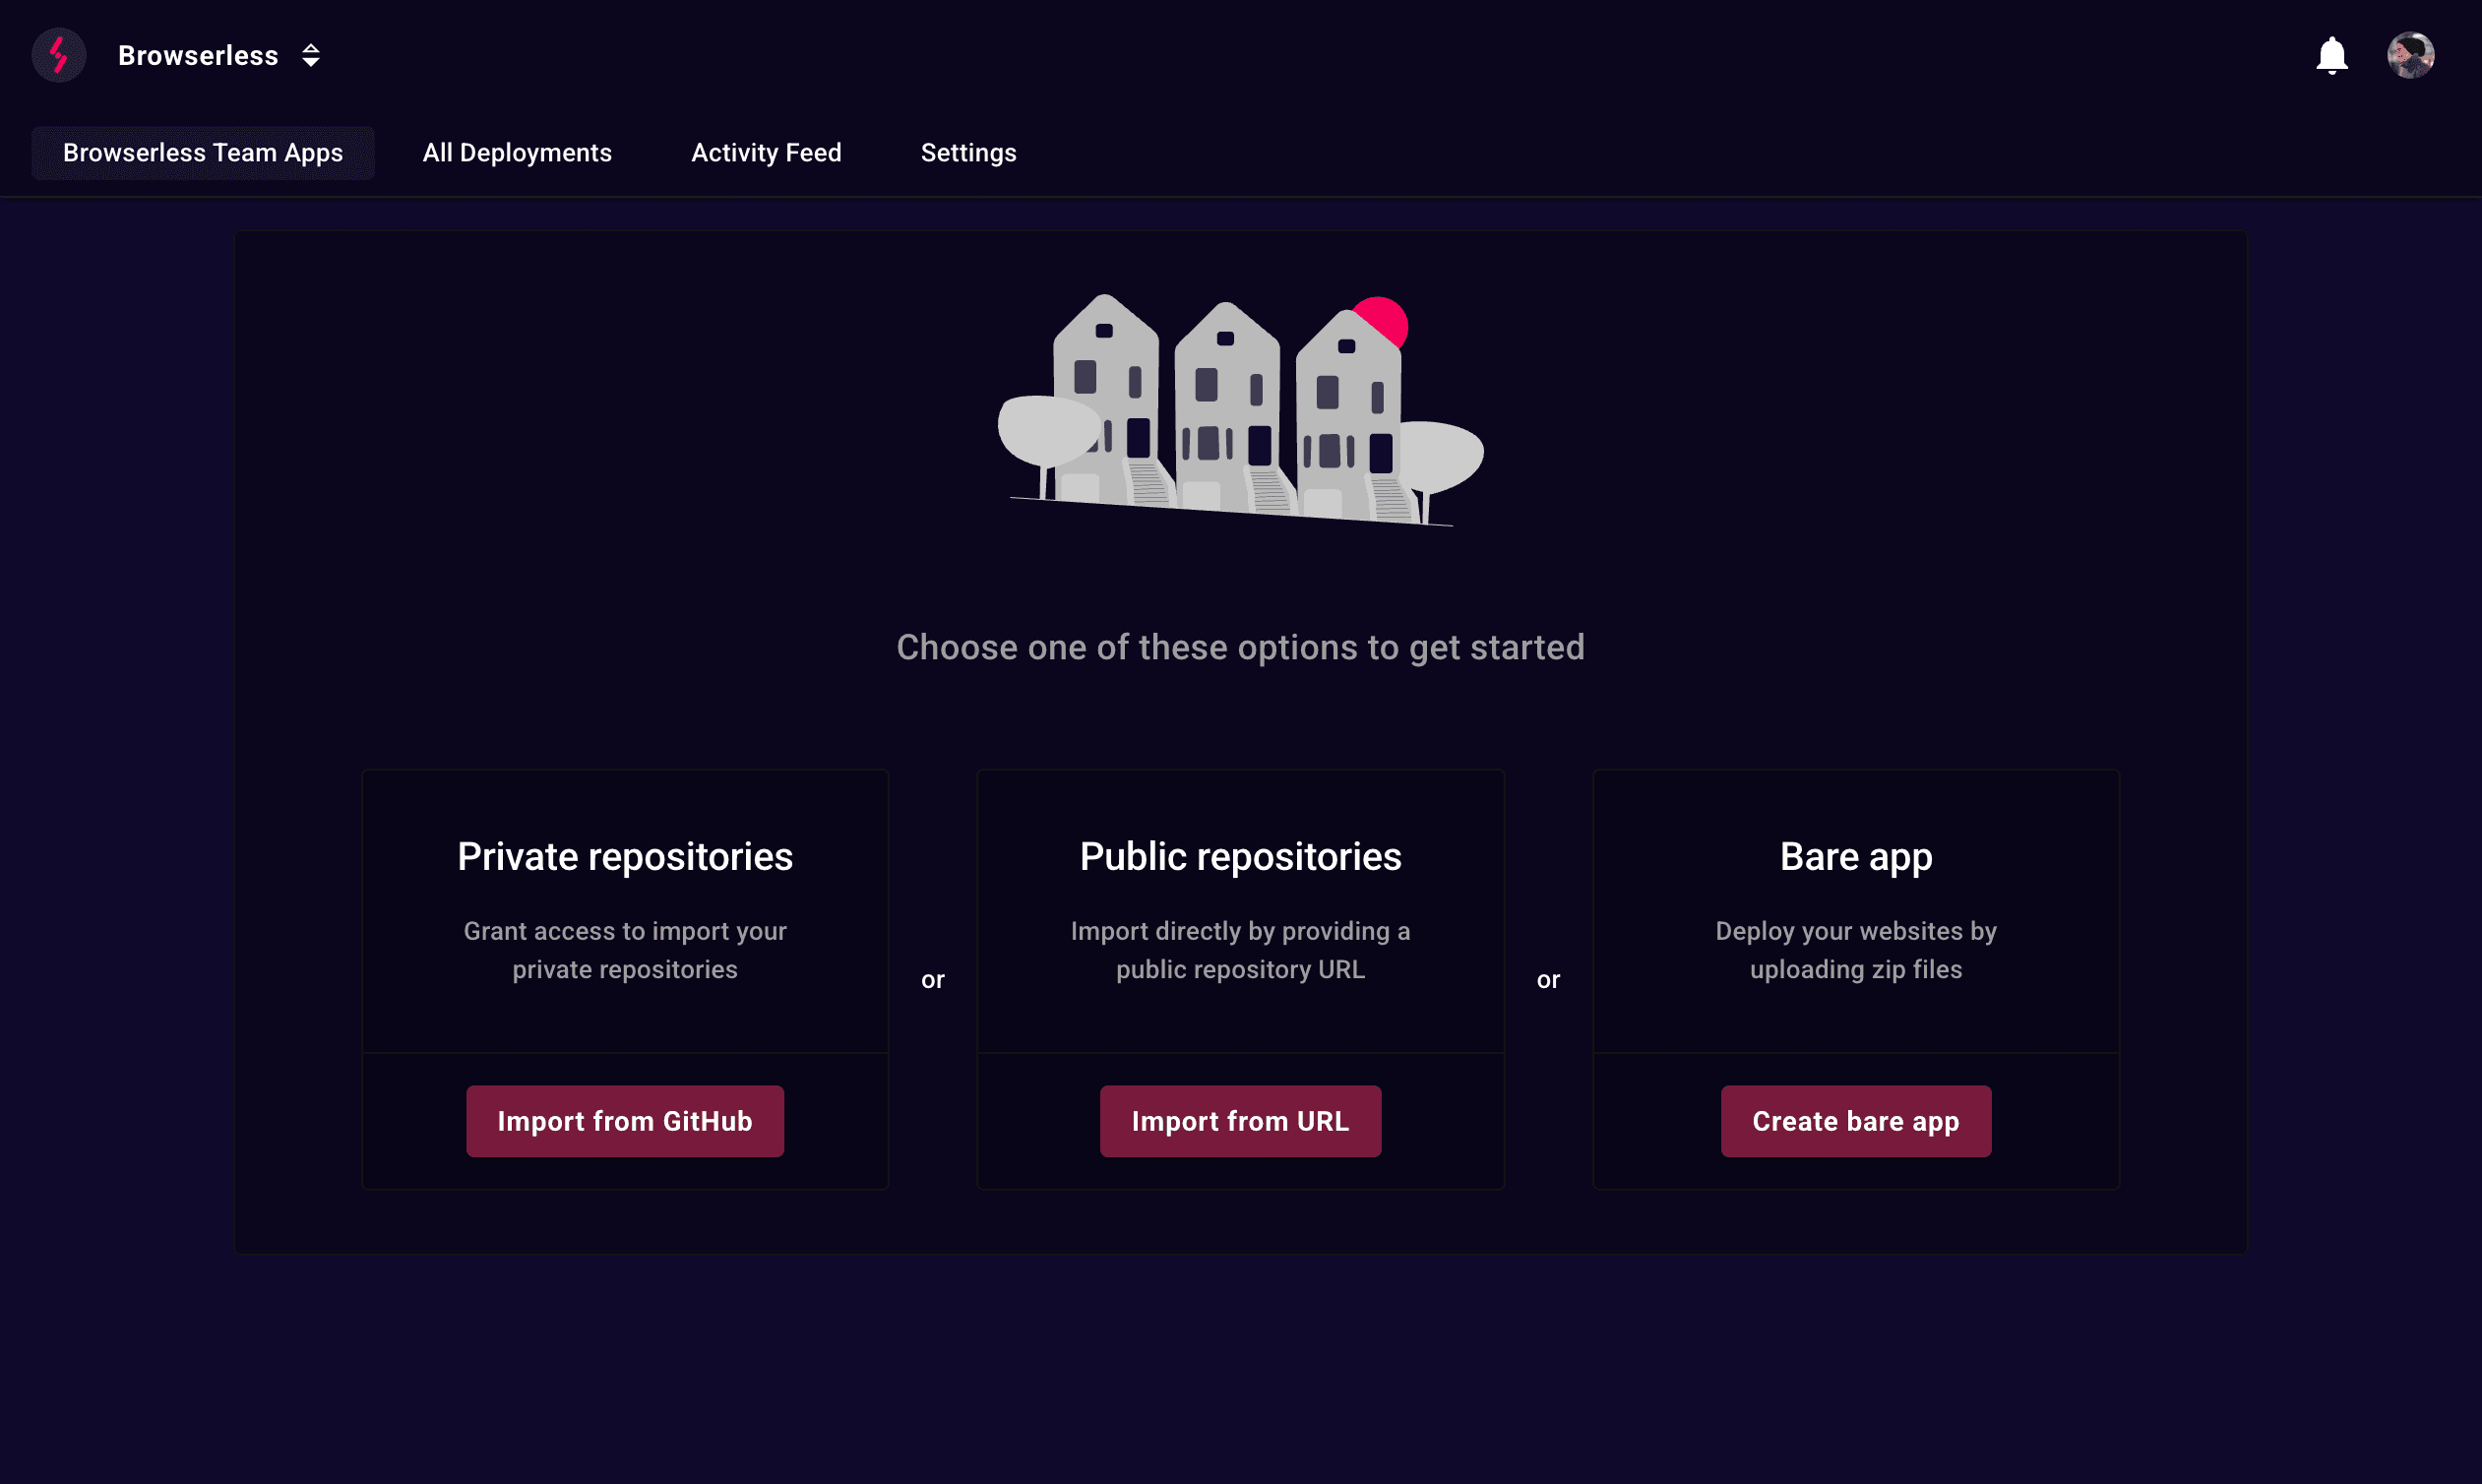
1. **Import from URL**: In your Stormkit dashboard, click "Import from URL" and paste your repository URL
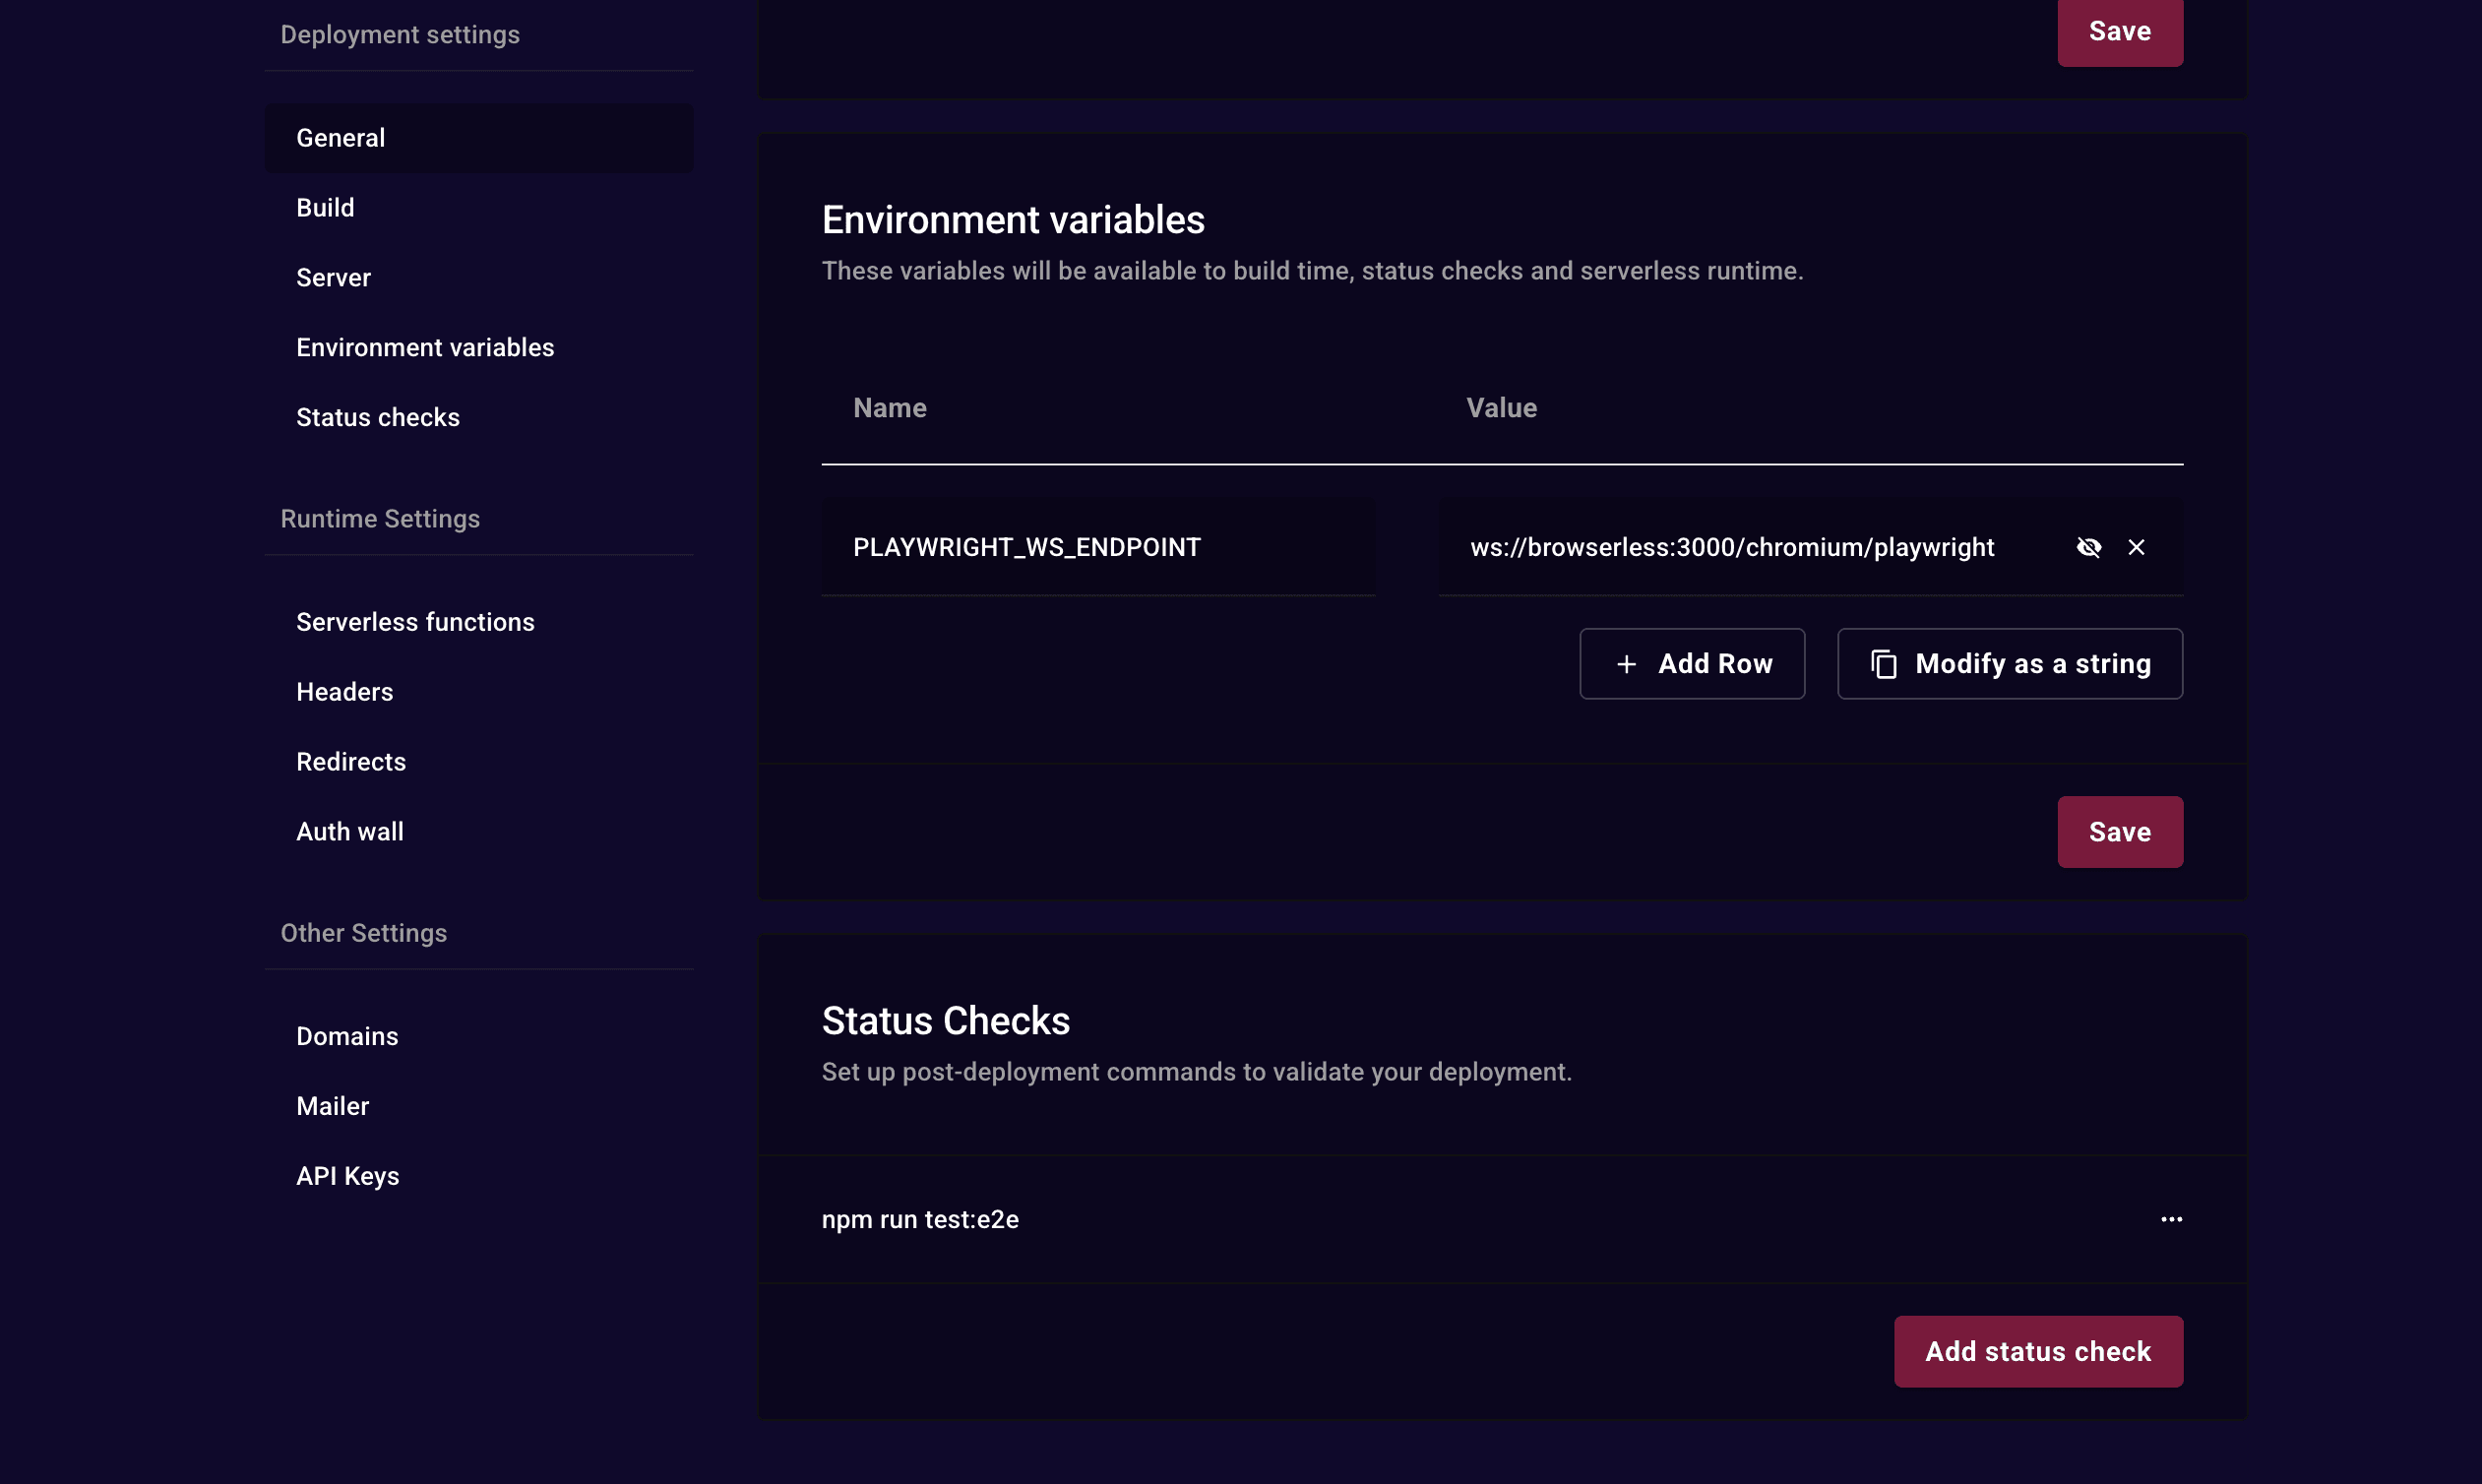
2. **Set Environment Variables**: Navigate to Environment > Config > Environment Variables and add:
- Key: `PLAYWRIGHT_WS_ENDPOINT`
- Value: `ws://browserless:3000/chromium/playwright`
3. **Set a status check:** Scroll down to Status Checks and provide the script we prepared above:
- `npm run test:e2e`
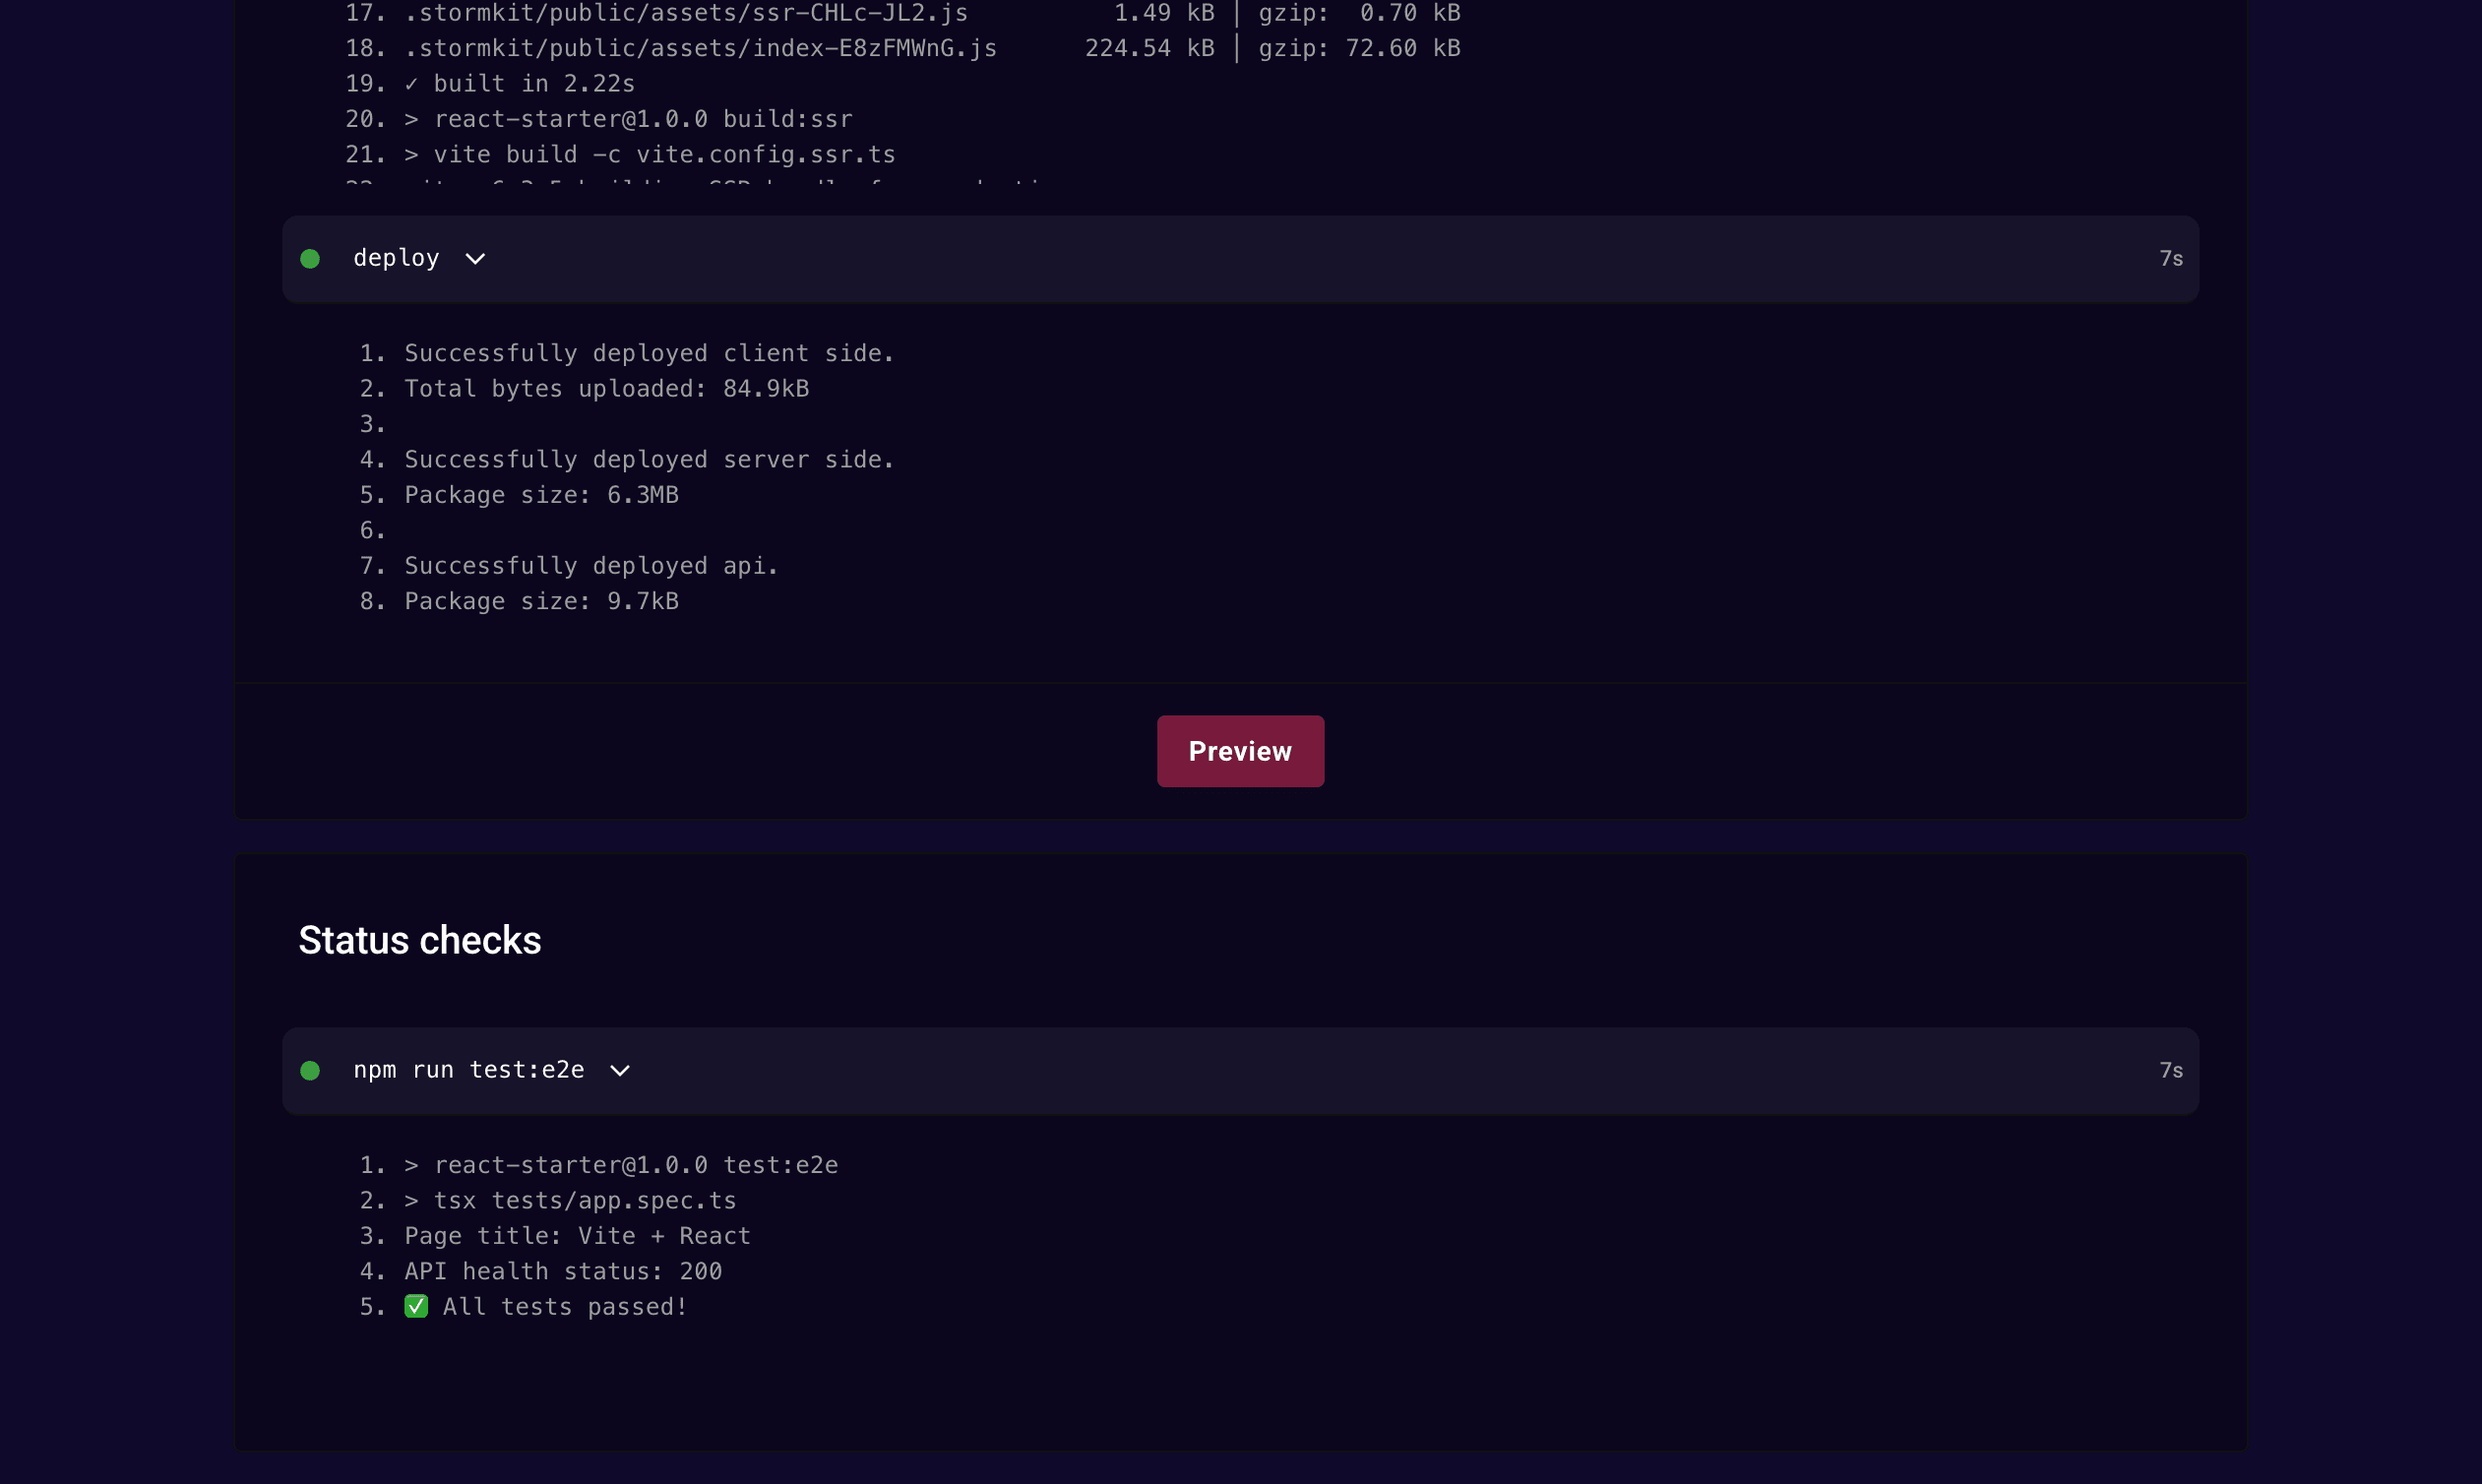
4. **Deploy**: Click the "Deploy" button to start your first deployment
## What Happens Behind the Scenes
When you trigger a deployment, Stormkit orchestrates several automated steps:
1. **Build and Deploy**: Stormkit builds your application from the repository and deploys it
2. **Deployment Preview**: A unique deployment endpoint is created and passed to your application via the `SK_DEPLOYMENT_URL` environment variable (which our test uses to know where to connect)
3. **Status Checks**: After deployment completes, Stormkit automatically runs the configured status checks (`npm run test:e2e`)
4. **Validation**: The status checks verify that your application loads correctly, required elements are present, and functionality works as expected
5. **Production Promotion**: If all tests pass, Stormkit automatically promotes this deployment to production, making it live for your users
This automated pipeline ensures that only validated, working deployments reach production, giving you confidence in your releases.
## Conclusion
You now have a fully functional automated testing setup with Stormkit and Browserless! This configuration provides:
- Scalable browser testing with Browserless
- Automated test execution on deployments
- Comprehensive test coverage for both UI and API
The combination of Stormkit's deployment platform with Browserless's browser automation creates a powerful testing environment that can scale with your application needs.